Ever wondered how to add a personal touch to your gifts? In this blog post, we guide you through the process of creating your own personalized papercut gifts, perfect for any occasion. From tools and materials to step-by-step instructions, we'll ensure you're well-equipped to craft a meaningful, hand-made present.
Why ?
Personalized papercut gifts offer a unique and heartfelt way to show someone you care. Unlike store-bought items, these gifts are one-of-a-kind creations that are sure to leave a lasting impression on the recipient. Whether it's a birthday, anniversary, or any other special occasion, a personalized papercut gift adds a touch of thoughtfulness and personalization that can't be replicated.
The beauty of papercut gifts lies in their intricate and delicate designs. Each piece is carefully hand-cut, making it a true work of art. The attention to detail and the precision required to create these gifts make them even more special. The recipient will appreciate the time and effort put into making something so unique and personalized just for them.
Furthermore, personalized papercut gifts allow you to express your creativity and showcase your artistic skills. You can choose from a wide range of designs and styles or even create your own. The possibilities are endless, allowing you to tailor the gift to the recipient's interests, hobbies, or personality. Whether it's a silhouette of their favorite animal, a meaningful quote, or a design that represents a shared memory, the personalization options are limitless.
Moreover, personalized papercut gifts have a timeless appeal. Unlike many trendy gifts that may lose their charm over time, papercut art remains a classic and elegant choice. It can be displayed in a frame, placed on a shelf, or even used as a decorative element in a scrapbook or journal. Its delicate and intricate nature ensures that it will be cherished for years to come, serving as a constant reminder of the special bond between the giver and the recipient.
A collage of various personalized papercut gifts
"The only tool you need is a little creativity" – Choosing Your Tools and Materials
Choosing the right tools and materials is essential when it comes to creating personalized papercut gifts. With just a little creativity, you can transform ordinary paper into a stunning work of art. Here are three key factors to consider when choosing your tools and materials:
- 1. Quality Paper:
The first step in creating a beautiful papercut gift is selecting the right paper. Look for high-quality paper that is sturdy enough to withstand the cutting process but still thin enough to allow for intricate designs. Consider using acid-free paper to ensure the longevity of your gift. You can choose from a variety of colors and textures to add depth and visual interest to your papercut design. - 2. Precision Cutting Tools:
To bring your creative vision to life, you'll need a set of precision cutting tools. A sharp pair of scissors or a craft knife with replaceable blades are essential for achieving clean and precise cuts. Additionally, consider investing in a cutting mat or a self-healing mat to protect your work surface and extend the lifespan of your cutting tools. Experiment with different blade sizes and shapes to achieve different effects in your papercut designs. - 3. Adhesive and Mounting Options:
Once you've completed your papercut design, you'll need to consider how you want to present it. There are various adhesive and mounting options available, depending on the final look you want to achieve. You can use glue sticks, double-sided tape, or even adhesive foam squares to affix your papercut to a background or backing board. Frame your papercut in a shadow box frame to create a three-dimensional effect, or simply mount it on a colored cardstock for a simpler presentation.
Understanding Papercut Art: A Brief History
Papercut art, also known as paper cutting or silhouette art, has a rich and fascinating history that dates back centuries. This intricate art form has been practiced in various cultures around the world, each with its unique style and techniques.
In China, papercut art has a history that spans over 1,500 years. It is believed to have originated during the Eastern Han Dynasty (25-220 AD) and gained popularity during the Tang Dynasty (618-907 AD). Chinese papercuts often depict scenes from everyday life, folklore, and symbols of good luck and prosperity. The art form was traditionally used to decorate windows and doors during festivals and celebrations.
Similarly, in Europe, papercut art has a long-standing tradition. In the 16th century, Germanic and Swiss artisans began creating intricate papercut designs, often featuring religious motifs and ornate patterns. These delicate creations were used to decorate homes and were also given as gifts. The art form gained popularity in Europe during the 17th and 18th centuries, with different regions developing their distinct styles.
Papercut art also has roots in other cultures, such as Mexico and Poland. In Mexico, the art form is known as "papel picado" and is commonly used as decoration during Dia de los Muertos (Day of the Dead) celebrations. Polish papercut art, known as "wycinanki," features bold and vibrant designs inspired by nature and folklore.
Today, papercut art has evolved and expanded, with artists incorporating modern themes and techniques. The availability of different tools and materials, such as laser cutting machines, has also opened up new possibilities for creating intricate papercut designs.
An illustration of historical papercut art
Isn't it fun to create something unique? – Designing Your Papercut
Designing your own papercut gifts is a wonderful way to unleash your creativity and make something truly special. The process begins with brainstorming ideas and deciding on the theme or concept for your design. Whether it's a personalized piece for a loved one or a decorative item for your home, the possibilities are endless.
One approach is to start with a rough sketch or outline of your desired design. This will help you visualize the composition and overall layout of your papercut. Consider the size and shape of your project, as well as any specific details or elements you want to include.
Next, gather inspiration from various sources such as nature, art, or even your favorite quotes. Incorporate these elements into your design, adding your personal touch to make it unique. You may also want to consider the recipient's interests or hobbies when designing a gift for someone else.
Once you have a clear idea of your design, it's time to transfer it onto the paper. You can either draw directly onto the paper or use tracing techniques to transfer your design accurately. Remember to use a pencil or a light pen to avoid leaving visible marks on the final piece.
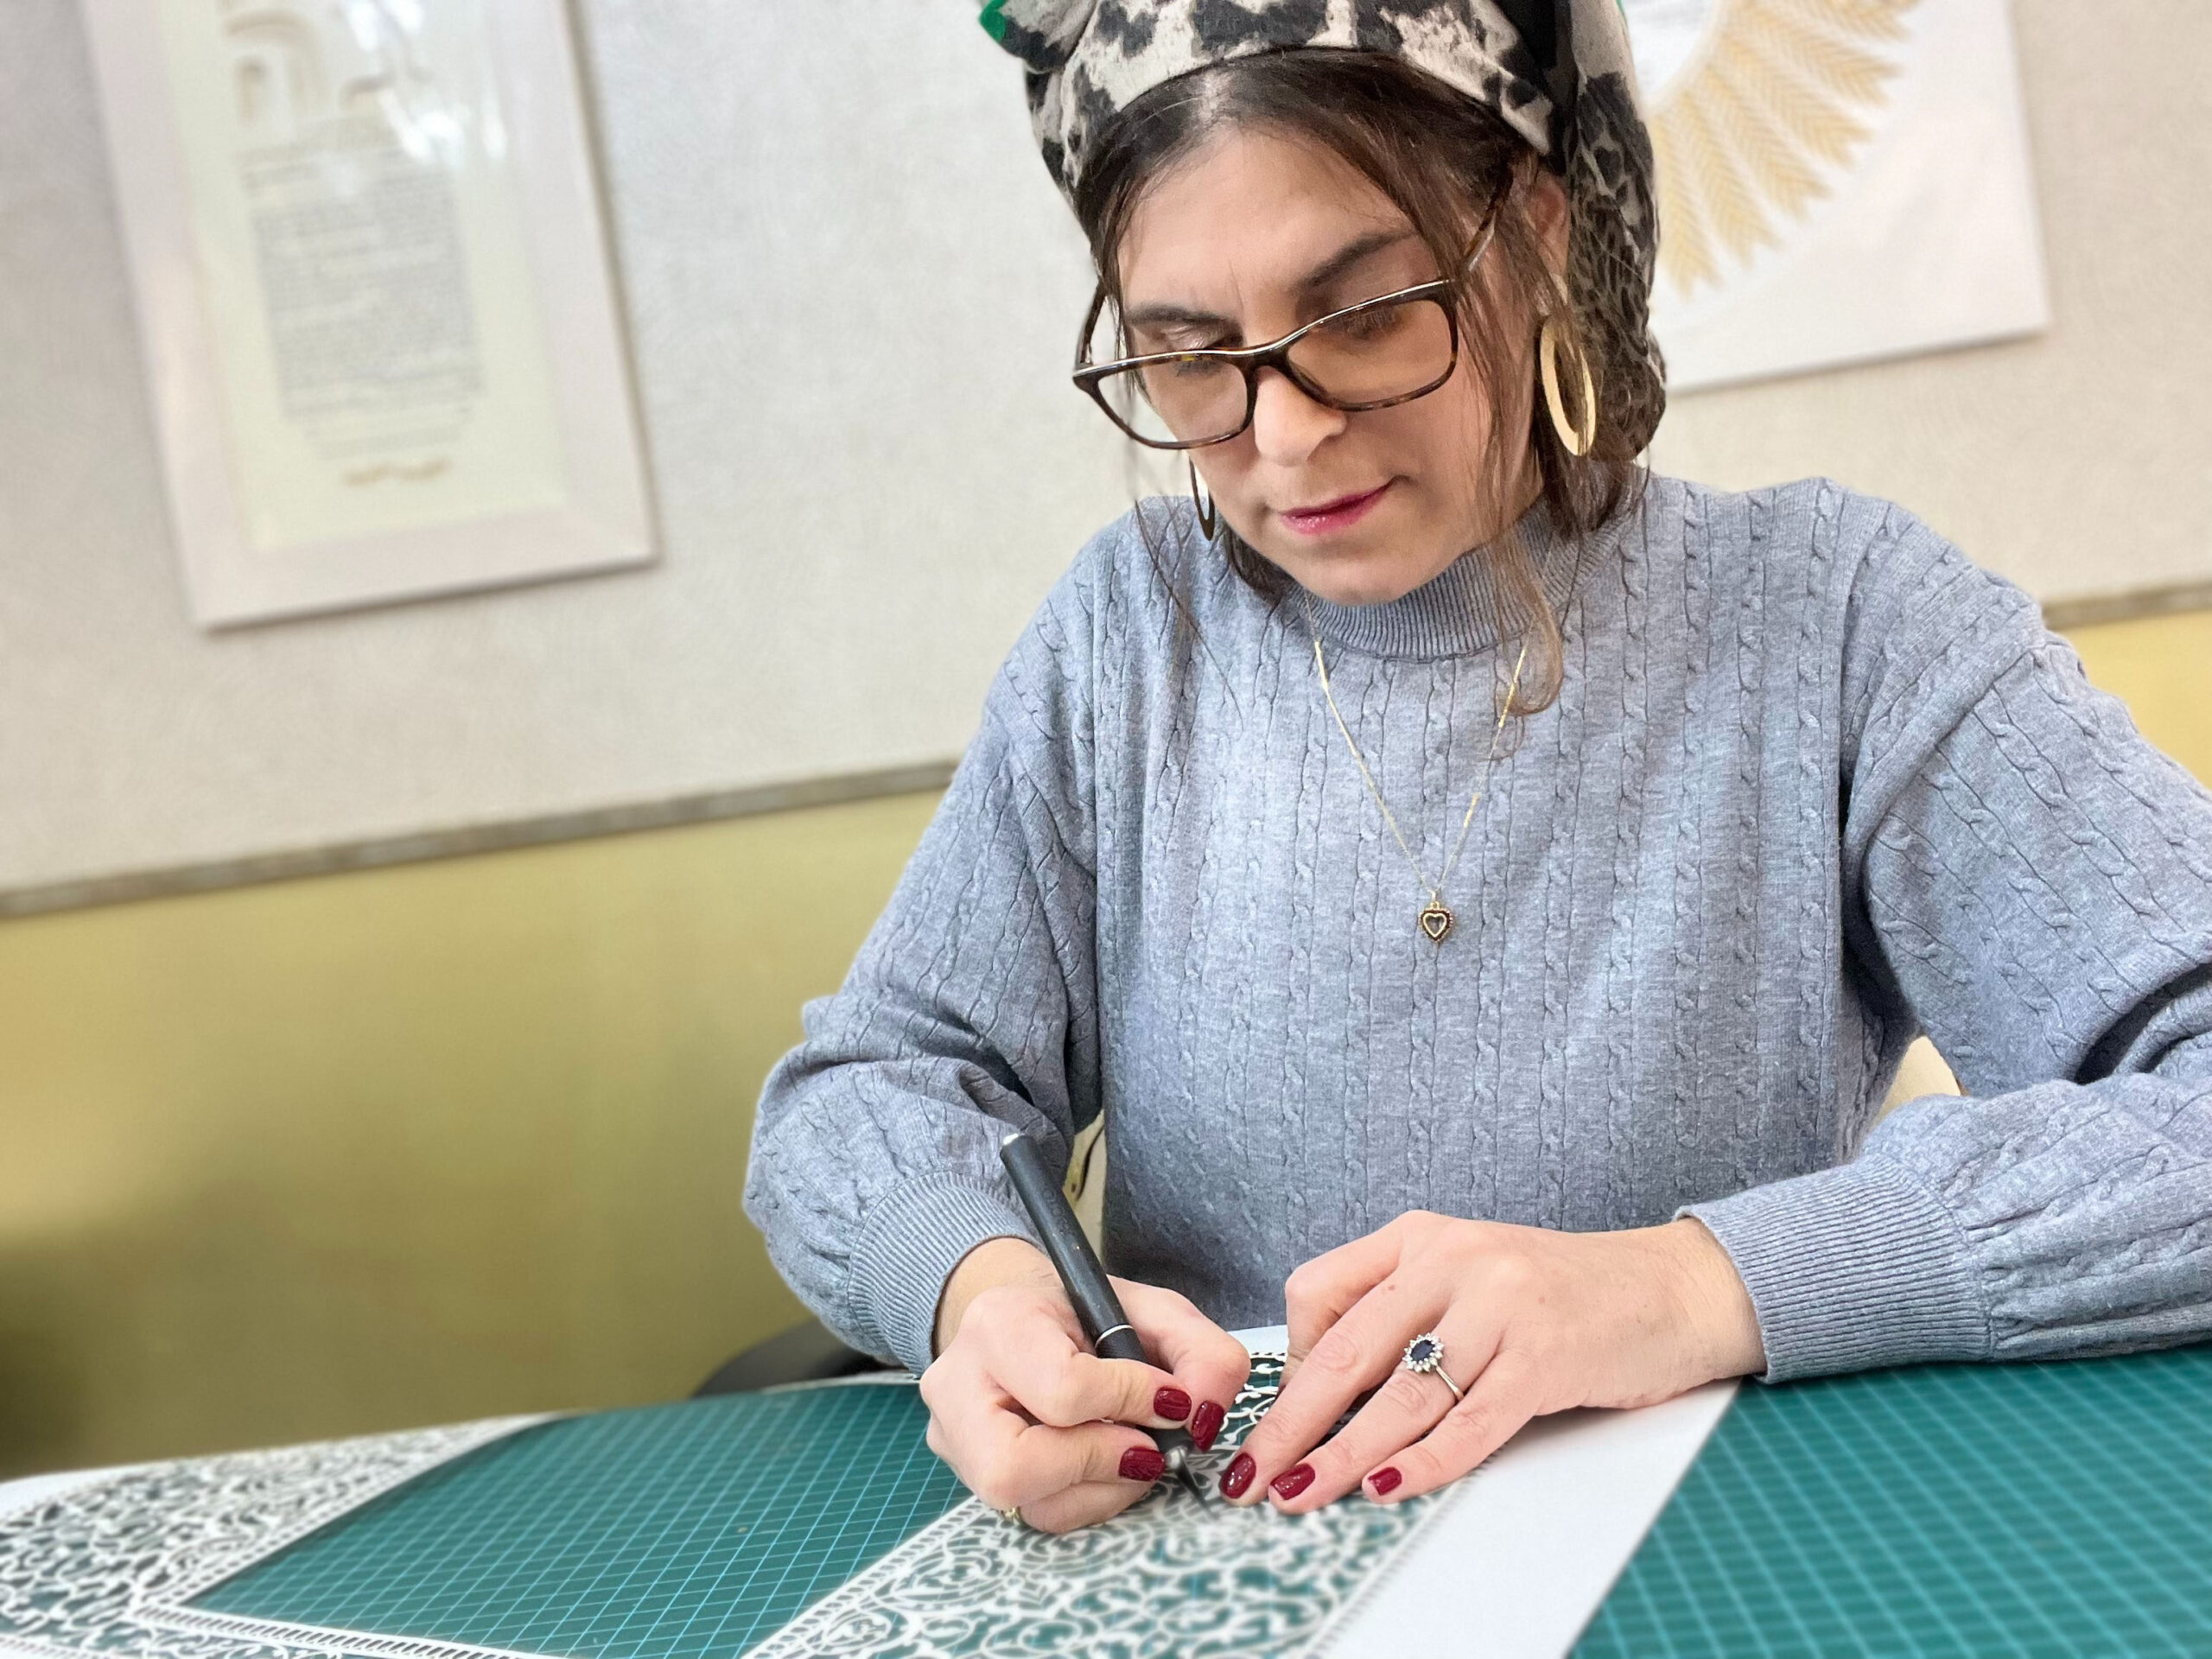
Now comes the exciting part – cutting out your design! Use a sharp craft knife or scissors to carefully cut along the lines of your design. Take your time and work in a well-lit area to ensure precision and accuracy. Remember to always prioritize safety and use a cutting mat or protective surface to avoid any accidents.
As you cut, you'll see your design come to life, unveiling the intricate patterns and shapes you've created. If you're new to papercutting, start with simpler designs and gradually challenge yourself with more complex patterns. Don't be afraid to experiment and make adjustments along the way – the beauty of papercut art lies in its flexibility and adaptability.
A Step-by-step Guide to Your First Papercut Art
Papercutting may seem intimidating at first, but with a step-by-step approach, you'll be creating stunning papercut art in no time. Here's a guide to help you get started on your first papercut masterpiece:
- 1. Gather your materials:
You'll need a sharp craft knife or scissors, a cutting mat or protective surface, and a sheet of quality paper. Choose a paper that is sturdy enough to handle intricate cuts but not too thick that it becomes difficult to cut through. - 2. Prepare your design:
Start by sketching your design on a separate sheet of paper. Once you're satisfied with your design, transfer it onto the chosen paper using a pencil or light pen. Make sure to include all the details and lines you want to cut. - 3. Secure your paper:
Place your design on top of the cutting mat and secure it with tape or a paperweight. This will prevent the paper from shifting while you're cutting. - 4. Begin cutting:
Start with the outermost lines of your design and work your way inward. Hold the knife or scissors at a 45-degree angle and make gentle, controlled cuts. Take your time and be careful not to cut too deep or go off track. - 5. Work on intricate details:
As you progress, focus on the smaller, more intricate details of your design. Use the tip of the knife or scissors to make precise cuts, ensuring that the lines are clean and sharp. - 6. Remove cut pieces:
As you cut, gently remove the cut pieces of paper to avoid any accidental tearing. Use a clean brush or your fingers to brush away any loose paper scraps. - 7. Final touches and presentation:
Once you've completed all the cuts, take a moment to inspect your artwork. Make any necessary touch-ups or adjustments. Consider mounting your papercut art on a contrasting background or framing it to showcase your creation.
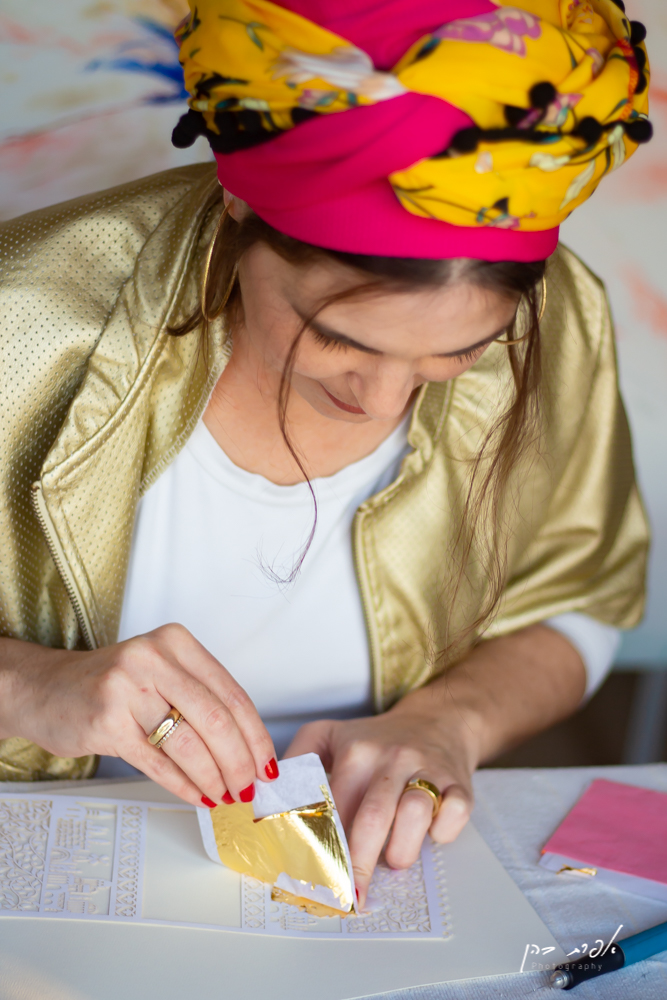
A series of images showing the process of creating papercut art
How to Preserve and Present Your Papercut Gifts
Preserving and presenting your papercut gifts is just as important as the creation process. Here are some tips to ensure that your papercut art remains in excellent condition and is beautifully showcased:
- 1. Mounting and framing:
One of the best ways to preserve and display your papercut art is by mounting it on a sturdy backing board and framing it. Choose a frame that complements your artwork and opt for UV-protective glass or acrylic to prevent fading and protect it from dust and damage. - 2. Matting:
Consider adding a mat around your papercut art before framing it. A mat not only enhances the overall presentation but also provides a buffer between the artwork and the glass, preventing it from sticking or getting damaged. - 3. Handling and storage:
When handling your papercut gifts, make sure your hands are clean and dry to avoid transferring oils or moisture onto the delicate paper. Store your papercut art in acid-free envelopes or archival sleeves to protect it from dust, light, and humidity. Avoid storing it in damp or excessively hot areas, as this can cause the paper to warp or deteriorate. - 4. Display options:
If you prefer not to frame your papercut art, there are other creative ways to showcase your creations. You can mount them on wooden panels, attach them to decorative paper or canvas, or even frame them between two sheets of glass to create a floating effect. - 5. Lighting considerations:
When displaying your papercut art, pay attention to the lighting conditions. Direct sunlight can cause the paper to fade and become brittle over time. Opt for gentle, diffused lighting or use UV-filtering bulbs to protect your artwork.
Sharing the Joy: Inspiring Papercut Gift Ideas
Papercut gifts are not only a unique and thoughtful way to show someone you care, but they also have a personal touch that makes them truly special. Here are a few inspiring papercut gift ideas that are sure to bring joy to your loved ones:
- 1. Customized family tree:
Create a beautiful papercut family tree that showcases the names and birthdates of each family member. This heartfelt gift will be cherished for generations to come and is a wonderful way to celebrate your family's bond. - 2. Personalized wedding or anniversary gift:
Commemorate a special couple's love story by designing a papercut artwork that incorporates their names, wedding date, or a meaningful quote. This unique and romantic gift will be a cherished keepsake for the couple. - 3. Inspirational quotes:
Papercut art can also be a source of motivation and inspiration. Choose a meaningful quote or phrase that resonates with the recipient and create a papercut design around it. Whether it's a favorite saying, a mantra, or words of encouragement, this gift will serve as a daily reminder of positivity and strength. - 4. Pet portraits:
For the animal lovers in your life, surprise them with a personalized papercut portrait of their beloved pet. Capture the unique features and personality of their furry friend in intricate paper art. This gift will surely tug at their heartstrings and become a cherished memento. - 5. Special occasions and milestones:
Papercut gifts are perfect for commemorating special occasions such as birthdays, graduations, or retirements. Create a papercut design that incorporates symbols or elements related to the milestone, such as graduation caps, balloons, or age numbers. This thoughtful and personalized gift will be a memorable way to celebrate these important moments.
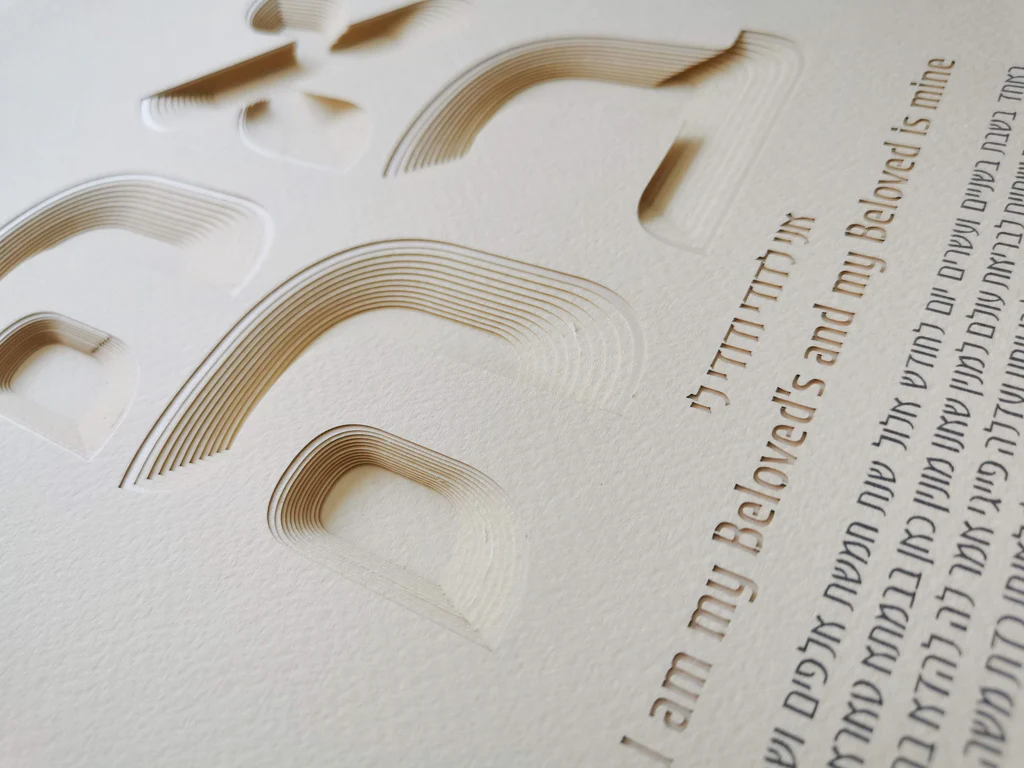
A papercut gift ideas
Creating personalized papercut gifts is not just an inexpensive alternative but also allows you to express your creativity and add a personal touch. Remember, the value of a gift lies in its sentiment, and what could be more sentimental than something you've crafted with your own hands. So, get started, and don't forget to share your creations with us!
https://noaattias.com/